Transform everyday household items into engaging crafts for your toddler with these seven creative projects.
You’ll discover how paper plates become charming animal faces while toilet rolls transform into playful finger puppets.
Create vibrant handprint rainbow trees using construction paper, or design a magical butterfly garden from egg cartons.
Let your little one investigate shapes through newspaper collages, build imaginative cardboard block cities, and experiment with textured bubble wrap painting.
These activities develop fine motor skills and creativity, teaching concepts like colours, shapes, and sustainability. Each project opens a new world of artistic possibilities for your young creator.
1. Paper Plate Animal Art

Creating animal art with paper plates offers an engaging and cost-effective way to spark your toddler’s imagination.
You’ll need basic supplies like paper plates, paint, scissors, and glue to transform ordinary dishes into colourful creatures from farms, jungles, or oceans.
For younger toddlers, choose simple designs like fish and ladybugs. Try more complex projects like giraffes and parrots as your child’s skills develop.
The projects are eco-friendly craft options that help teach sustainability. To reduce mess and add texture, you can enhance these crafts with tissue paper, markers, or construction paper.
While you guide your child through the process, they will develop essential fine motor skills and learn about colours, shapes, and animal names.
Remember to let your child add personal touches—their creativity will make each project unique and memorable.
2. Toilet Roll Finger Puppets
This simple yet entertaining craft transforms ordinary toilet paper rolls into delightful finger puppets. Basic supplies include scissors, glue, paint, and decorative items like googly eyes.
Start by cutting one roll in half for the head, then paint or decorate both pieces as desired. Use crepe paper wrapping for a smooth, colourful base.
Create small holes for attaching legs and control strings, threading them through carefully and securing them with knots.
Connect the head to the body using string, then add personality with paper ears, a crafted tail, and expressive facial features.
You can customize your puppet by incorporating different colours, patterns, or materials.
You can attach it to a stick to make a marionette-style puppet or experiment with various decorative elements to bring your character to life.
3. Handprint Rainbow Trees
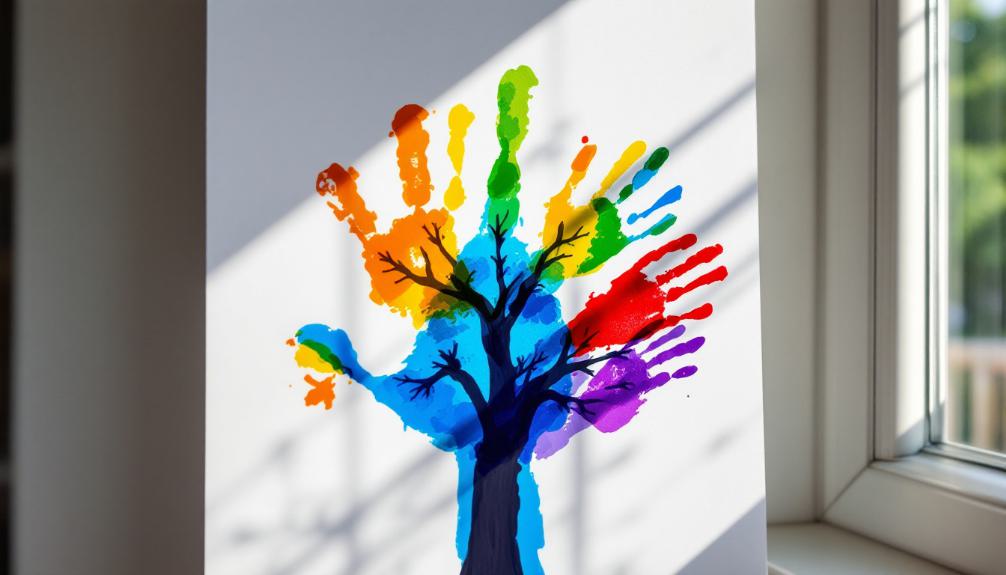
With colourful construction paper and a few simple supplies, you’ll bring a whimsical rainbow tree to life using your child’s handprint.
Start by tracing and cutting out a brown paper trunk, then gather construction paper in rainbow hues for the tree’s vibrant foliage. This craft develops fine motor skills as children practice cutting and glueing.
You can create a colourful canopy by tracing and cutting handprints from construction paper or painting your child’s hand to make direct prints.
Work from the centre outward, arranging the handprints in a balanced design. To add depth to your creation, incorporate 3D butterflies—fold them in half and attach them with small dots of tacky glue.
You might include additional elements like grass or a bright sun to complete your masterpiece for extra flair.
4. Egg Carton Butterfly Garden
This magical butterfly garden springs to life by creatively repurposing an egg carton. This craft is perfect with adult supervision.
You’ll need light cardboard, a glue stick, green acrylic paint, scissors, and a skewer to make this delightful project.
Start by cutting your template shapes and folding the butterfly wings, then add pipe cleaners for the antennae.
Transform your space with these enchanting elements:
- Glowing tealights wrapped in yellow tissue paper create a soft, warm ambience
- Hand-painted butterflies dance above delicate paper flowers
- Vibrant egg carton blooms bring depth and texture to your garden
You can customize your creation using LED tealights for safety or tissue paper screwballs as an alternative.
Attach loose butterflies with blue tak for added whimsy, allowing them to flutter naturally.
5. Newspaper Collage Shapes
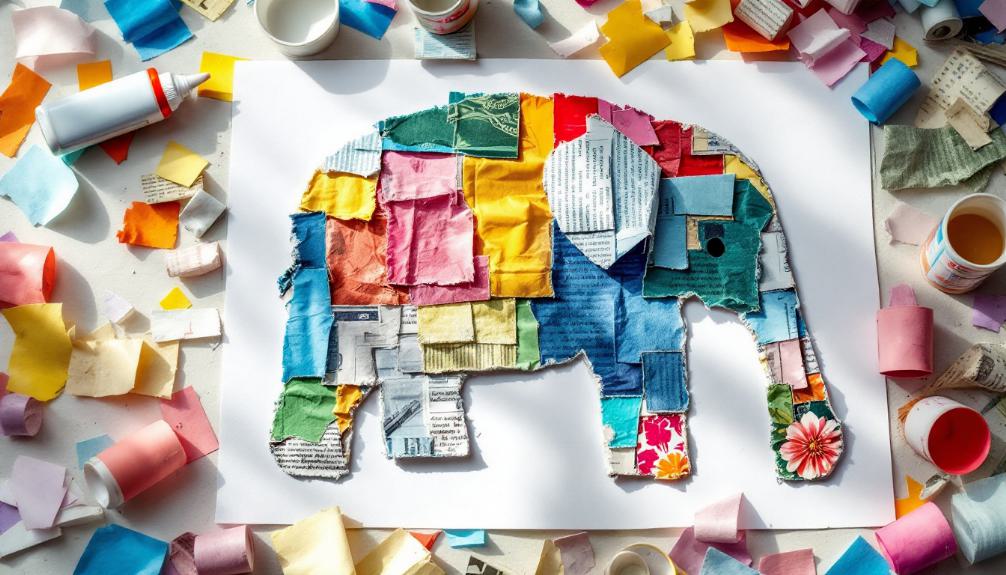
Making newspaper collages lets your toddler explore shapes while developing essential motor skills. You’ll need newspapers, scissors, glue sticks, markers, and cardstock to create this engaging craft.
Start by drawing or tracing simple shapes on newspaper pieces, then help your child carefully cut them out.
To make the activity more manageable, you can pre-cut shapes for younger children or use stencils for complex designs. The small printed text of newspapers creates an interesting grey tone in the finished artwork.
Let your toddler arrange and layer the shapes on cardstock, creating depth and texture in their artwork. Keep a clean workspace to prevent ink smudges.
This activity is fun, teaches recycling awareness, enhances creativity, and builds observation skills. Your child will love exploring different textures while learning to identify patterns and shapes.
6. DIY Cardboard Block City
You can transform your home’s recyclables into an exciting miniature metropolis with a DIY cardboard block city. You’ll need cardboard pieces, empty containers, craft supplies, and basic tools like scissors and glue.
Start by creating a brain map to organize your city’s layout, including where important buildings and roads are placed.
- Add windows, doors, and colourful decorations to turn ordinary boxes into incredible buildings.
- Create life-like streets using painter’s tape, then add small vehicles for realistic traffic flow.
- Design peaceful parks and green spaces using pom-poms, pipe cleaners, and other craft materials.
As you build, you’re not just crafting a city – creating a world where your toddler’s imagination can flourish.
Add toy figures and watch as stories unfold in this handmade urban playground.
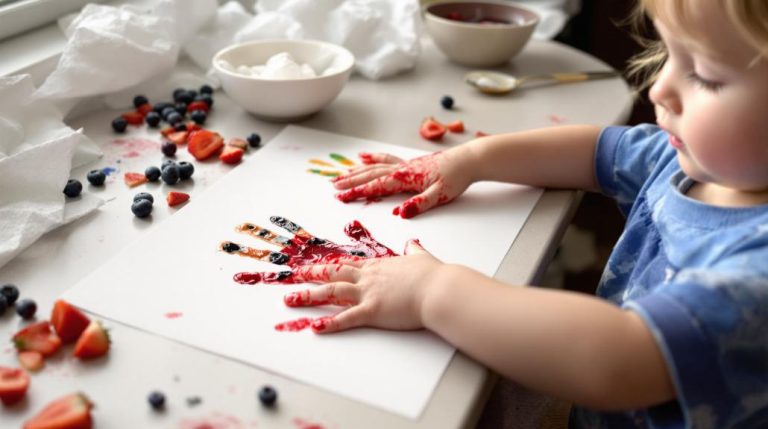
7. Bubble Wrap Painting Adventures
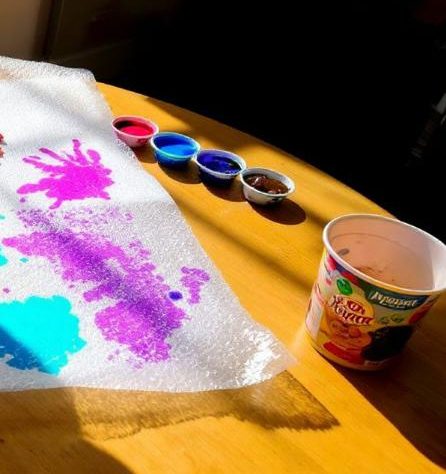
With bubble wrap and a few simple supplies, you can open your toddler’s eyes to a world of artistic possibilities.
Start by securing bubble wrap to your table with tape, then let your little one investigate different painting techniques using brushes or fingers.
You can even create a mess-free experience by placing paint between layers of bubble wrap.
Roll paint thinly across the bubble wrap to make prints, and carefully press paper onto the surface.
Work from the middle outward to guarantee even contact, or use a foam roller for consistent pressure.
For added creativity, you can cut bubble wrap into shapes or letters or tape it to rolling pins to create unique patterns.
With this versatile material, your toddler will love discovering the satisfying popping sounds while creating colourful masterpieces.