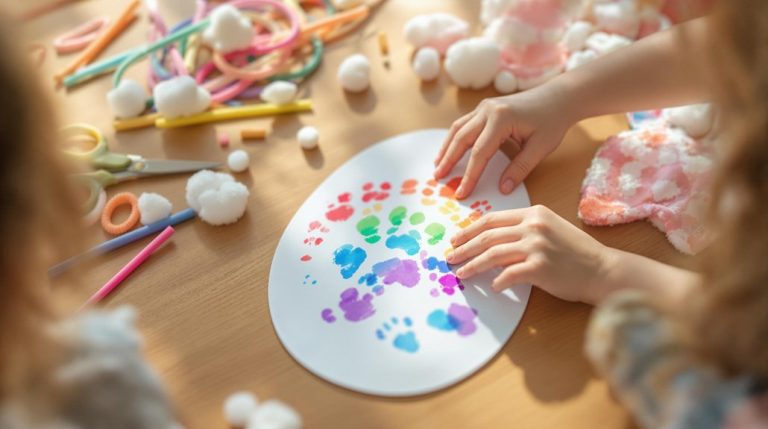
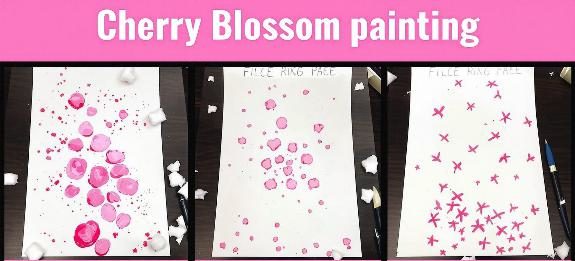
Cherry blossom finger painting is a simple yet stunning craft that captures the beauty of spring.
This activity combines creativity with cultural significance, making it an engaging way for toddlers to learn while exploring their artistic side.
Materials Needed
- Coloured paper (light blue or white works best)
- Spring-coloured paint (pink, white, and light green)
- Black pen or marker
- Tape
- Protective material for the workspace (newspaper, plastic sheet, etc.)
- Optional: glitter or decorative elements
Step 1: Set Up the Workspace
Cover your workspace with protective material to prevent paint spills. Tape the coloured paper to the surface to keep it steady while your toddler paints.
Step 2: Draw the Branches
Draw branches on the coloured paper using a black pen or marker. Add curves and smaller twigs for detail to make them look natural. These branches will serve as the base for the cherry blossoms.
Step 3: Prepare the Paint
Pour small amounts of pink, white, and light green paint onto a palette or paper plate. Ensure the paint is easily accessible for your toddler to dip their fingers into.
Step 4: Create the Blossoms
Guide your toddler to dip their fingers in pink paint and make small clusters of fingerprints around the branches. This creates the cherry blossoms. Add a few white fingerprints to mimic flower petals and light green ones for a hint of leaves.
Step 5: Add Decorative Elements
If desired, sprinkle glitter or add decorative elements like small stickers to enhance the artwork. This step makes the final piece unique and festive.
Step 6: Let It Dry
Allow the painting to dry completely. Then, place place it in a safe spot that won’t be smudged or di.
Step 7: Display the Artwork
Once dry, you can display the cherry blossom painting in your home or give it as a gift to celebrate the season.