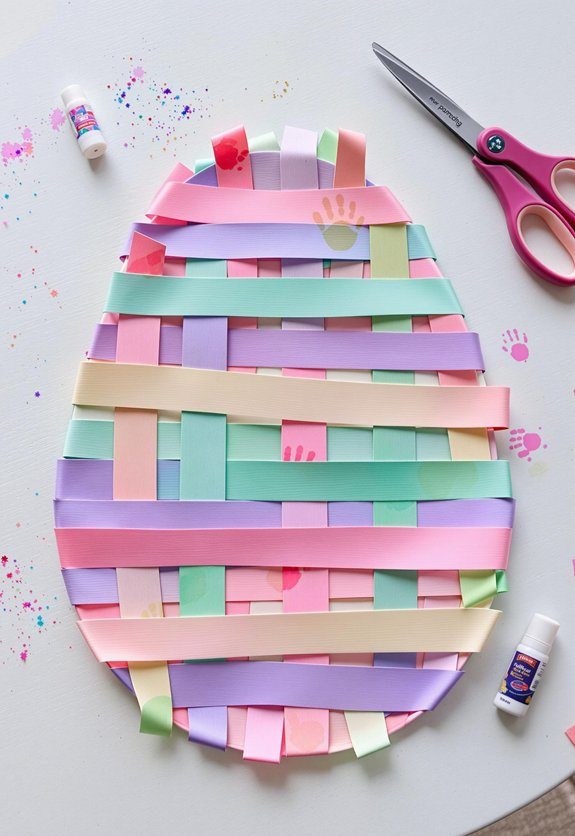
Creating woven paper Easter eggs is a delightful activity that combines creativity with fine motor skill development for toddlers.
This craft involves weaving colourful paper strips through an egg-shaped base, creating vibrant decorations perfect for Easter.
Materials Needed
- Coloured construction paper
- Scissors
- Glue stick
- Pencil
- Ruler
- Printable egg template (optional)
Step-by-Step Guide
Step 1: Prepare the Egg Base
- Fold a piece of construction paper in half.
- Draw half of an egg shape along the fold using a pencil.
- Cut along the drawn line to create a symmetrical egg shape when unfolded.
Step 2: Create Weaving Slits
- With the egg shape folded in half again, draw horizontal lines across the fold, spacing them evenly (about 1-2 cm apart).
- Carefully cut along these lines, ensuring not to cut through to the edges, creating slits for weaving.
Step 3: Prepare Weaving Strips
- Cut strips of coloured construction paper approximately 1-2 cm wide and longer than the egg’s width.
Step 4: Weave the Strips
- Unfold the egg shape to reveal the slits.
- Take a paper strip and weave it over and under through the slits.
- Push the strip to the top of the egg.
- Continue weaving additional strips, alternating the over-under pattern to create a checkerboard effect.
Step 5: Secure and Trim
- Once all strips are woven, adjust them to ensure they are snug.
- Apply glue to the ends of the strips to secure them in place.
- Trim any excess paper from the edges to maintain the egg shape.
Step 6: Add Embellishments (Optional)
- Decorate the woven egg with additional elements like stickers, glitter, or drawings to enhance its appearance.
Tips
- For younger children, using wider strips and spacing the slits further apart can make the weaving process easier.
- To add durability, consider laminating the egg base before cutting the slits.