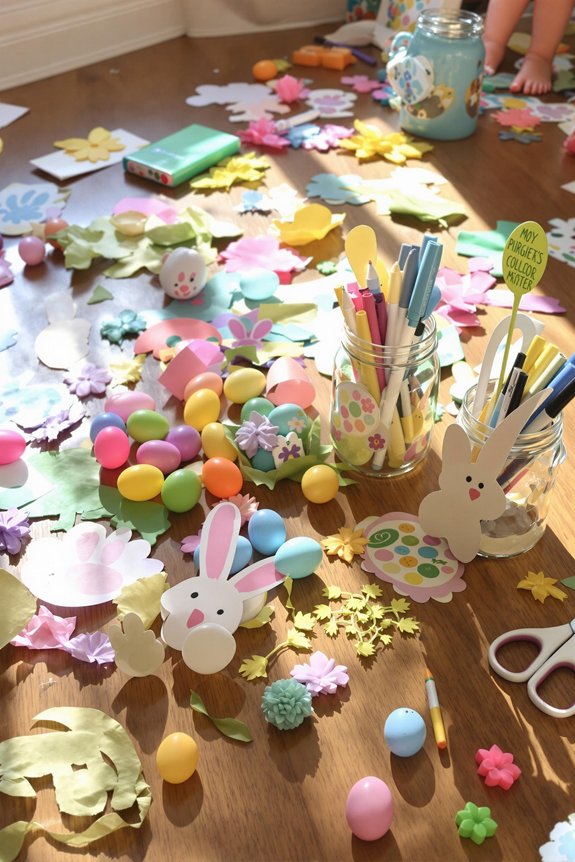
Easter bunnies bring joy to any springtime celebration, and creating paper plate bunny faces is a delightful craft perfect for toddlers.

Materials Needed
- Two paper plates
- Cotton balls
- Googly eyes
- Pipe cleaners
- Construction paper (white and pink)
- Pink pom-pom
- Glue
- Scissors
Step 1: Prepare the Bunny’s Face
Take one paper plate to serve as the bunny’s face.
Step 2: Create the Bunny’s Ears
From the second paper plate, cut out two ear shapes. Cut smaller ear shapes from pink construction paper. Glue the pink shapes onto the white ears.
Step 3: Attach the Ears
Glue or tape the ears to the back of the paper plate, positioning them at the top.
Step 4: Add Facial Features
Glue two googly eyes onto the plate to form the eyes. Place a pink pom-pom below the eyes for the nose.
Step 5: Create Whiskers
Cut pipe cleaners into six equal pieces. Glue three pieces on each side of the nose to represent whiskers.
Step 6: Form the Mouth
Below the nose, draw a small mouth using a black marker or crayon.
Step 7: Add Fluffy Cheeks
Glue cotton balls on either side of the mouth to create fluffy cheeks.
Step 8: Let It Dry
Allow the glue to dry completely before handling the bunny face.